
| Home |
| Website Design |
Web Design Portfolio |
| Excel |
| Tutorials |
| Contact |

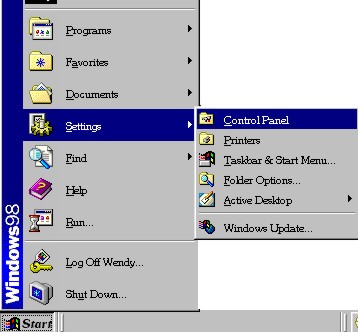
How to Install FontsNote: these screenshots are from Windows 98 for this, so yours will probably look a little different. There are other ways to do this, but this is easier to explain... 1. Click Start > Settings > Control Panel (same for Windows NT/2000).
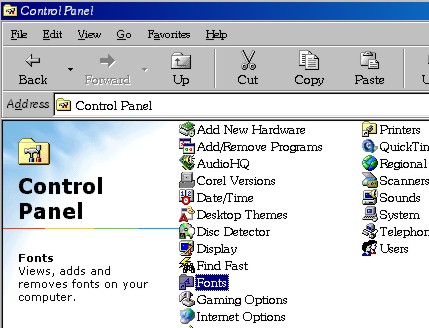
2. Double click the Fonts folder in the Control Panel.
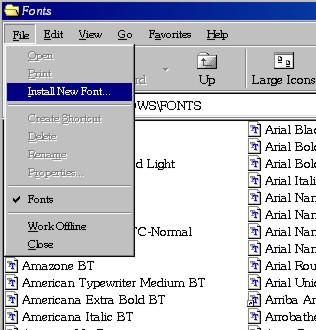
3. The Fonts folder will pop up. Next click File > Install New Font...
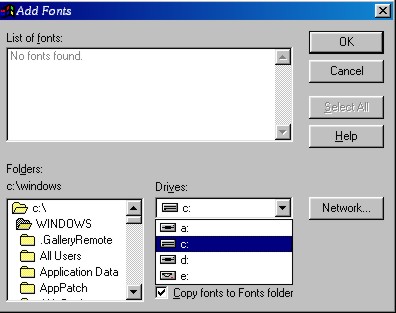
4. When you see this dialog box:
Done! |


![]()
Home | Website Design | Web Design Portfolio | FAQ | Web Design Checklist | Terms | Fees | eCommerce
Custom Excel Design and Programming | Tutorials | Links | About | Contact | Top
Copyright © 2005 - Allurl Design™. All rights reserved.
![]()